Yes, beauty blenders can absolutely grow mold. The porous foam material soaks up moisture, makeup residue, and skin oils every single time you use it, and if that sponge stays damp in a bathroom cabinet or makeup bag, you have handed mold exactly the conditions it needs: moisture, a food source, warmth, and shelter. Mold is not a hygiene failure unique to careless people. It is a predictable biological outcome when a wet, nutrient-rich surface sits in a warm, humid space long enough for fungal spores to settle and colonize.
Can Beauty Blenders Grow Mold? How to Spot and Clean It

Marcus Holloway
14 May 2026
Why mold finds a beauty blender so inviting
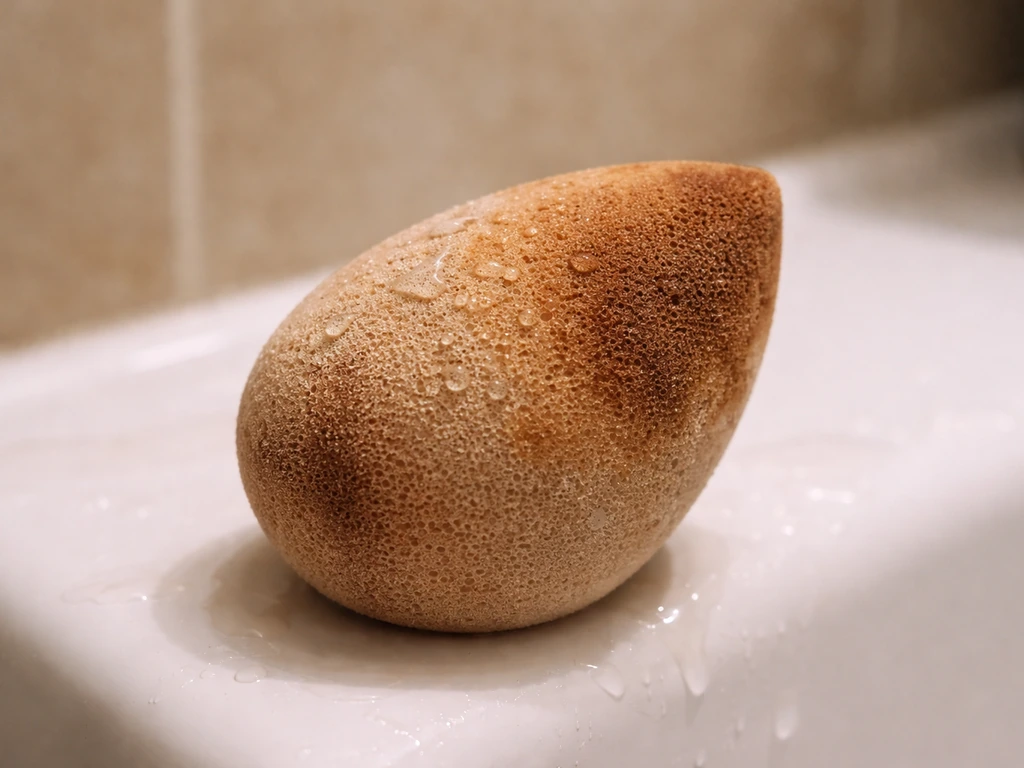
Mold is a fungus, and like all fungi it needs a few core things to grow: moisture, organic nutrients, a tolerable temperature, and time. A beauty blender checks every single box. The open-cell foam structure is designed to absorb product, which means it also absorbs and traps water deep inside where you cannot easily see or reach. Even a sponge that feels dry on the outside can hold residual moisture in its core, especially if it was squeezed and stored quickly.
The organic nutrient problem is just as significant. Every time you use a beauty blender, you deposit foundation, concealer, moisturizer, sunscreen, and your skin's own sebum and dead skin cells into that foam. These materials are rich in the kinds of organic compounds, proteins, and oils that mold and bacteria treat as a buffet. The CDC notes that molds need both moisture and carbon-based nutrients to grow indoors, and a used beauty blender delivers both in abundance.
Add in the typical bathroom environment: temperatures between 68 and 80 degrees Fahrenheit, humidity that regularly spikes above 50 percent after a shower, and low air circulation inside a cabinet or makeup bag. The EPA recommends keeping indoor humidity between 30 and 60 percent to discourage mold, and the CDC suggests keeping it no higher than 50 percent. Bathrooms routinely exceed that. Store a damp sponge in a closed space in that environment and mold spores, which are always floating in the air, will find it.
Mold vs. staining vs. smell: how to tell what you are actually dealing with
This is where a lot of people get confused, and it matters because the response is different depending on what you find. Not every discoloration on a beauty blender is mold, but mold has some distinguishing features worth knowing.
| What you see or smell | Likely cause | Action needed |
|---|---|---|
| Pink, orange, or brown flat staining | Foundation or concealer pigment buildup | Deep clean; if it does not wash out, replace |
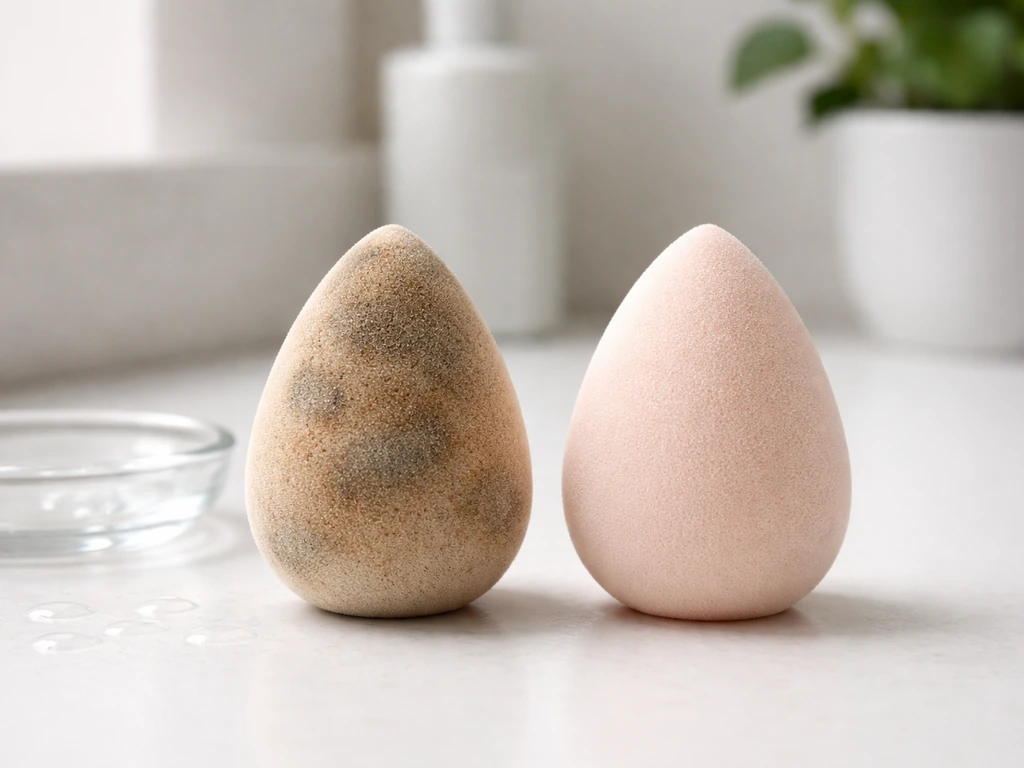
| Fuzzy, furry, or downy spots (often black, green, or white) | Active mold colony | Discard immediately |
| Musty or sour smell that persists after washing | Mold or bacterial growth inside the foam | Discard; smell means colonization is already advanced |
| Uniform darkening with no texture change | Pigment staining or oxidized makeup residue | Deep clean and evaluate |
| Slimy or tacky texture inside the sponge | Bacterial biofilm or early mold | Discard; sliminess indicates active microbial growth |
The key distinguishing feature of true mold is texture. Mold colonies grow outward and produce a fuzzy, fur-like coating that looks three-dimensional, similar to what you might see on a damp book or old bread. Pigment staining is flat, absorbed into the material, and does not have that raised or powdery quality. If you are squinting at a spot and genuinely cannot tell, that uncertainty is itself a useful signal: a sponge that has you questioning whether it is moldy should not go near your face.
What to do right now: a deep-clean you can do today
If you suspect contamination but do not see obvious fuzzy mold growth, a thorough deep clean is your first move. Here is the process that removes residue and addresses surface-level microbial buildup, following the manufacturer's cleaning approach rather than DIY shortcuts.
- Wet the sponge fully under lukewarm running water. Squeeze it several times to saturate the interior foam.
- Apply a gentle cleanser designed for beauty sponges, or a mild fragrance-free soap if that is what you have. Work it into the foam by squeezing and kneading, not rubbing against a hard surface.
- Rinse under running water while continuing to squeeze until the water runs completely clear and no suds remain. This step removes the nutrient residue that feeds microbes, so do not rush it.
- Squeeze out as much water as possible. Do not wring or twist the foam, which can tear the material.
- Set the sponge in a well-ventilated area away from humidity. Do not put it back in a bag, case, or cabinet until it is completely dry all the way through. This can take several hours, and rushing it is how the problem starts over.
- Check it again once dry. Smell it. Look at it in good light. A clean sponge should be odor-neutral and show only flat pigment staining at worst.
A quick note on popular DIY methods: Beautyblender specifically discourages microwave cleaning and dish soap. Harsh household disinfectants like bleach solution, while effective on hard surfaces per CDC guidance, are not appropriate for porous foam cosmetic tools. They can degrade the material and leave chemical residue that will touch your skin. Stick to gentle, cosmetic-grade cleansers for this job.
When to throw it away and not look back
Some sponges are past saving, and trying to rescue them creates more risk than it resolves. Discard your beauty blender immediately if you see any of the following.
- Visible fuzzy, furry, or spotted growth that looks like a mold colony
- A persistent musty or sour odor that remains after a thorough wash and complete drying
- A slimy or biofilm-like texture inside the foam
- Staining that will not wash out after multiple cleaning attempts
- Any physical damage like rips, tears, or crumbling material
- Any doubt about whether the growth you are seeing is mold or residue
Even without visible mold, Good Housekeeping recommends replacing a daily-use beauty blender roughly every three months. The material degrades, the pores stretch and trap more residue over time, and even a well-maintained sponge becomes harder to clean thoroughly after heavy use. Beautyblender echoes this: persistent stains, odors after cleaning, and physical damage are all signals that the sponge has reached the end of its safe life. A new sponge costs a few dollars and takes the guesswork out of it entirely.
How to prevent mold from coming back
Prevention is really just removing one of the conditions mold needs to grow. You cannot control airborne spores, but you can control moisture, nutrients, and storage environment. These habits make a measurable difference.
- Wash your beauty blender after every use, or at minimum every two to three uses. Each use loads more organic material into the foam, and every delay gives that material more time to support microbial growth.
- Rinse thoroughly every single time, even on quick washes. Leftover makeup residue is the nutrient source mold needs, and partial cleaning leaves it behind.
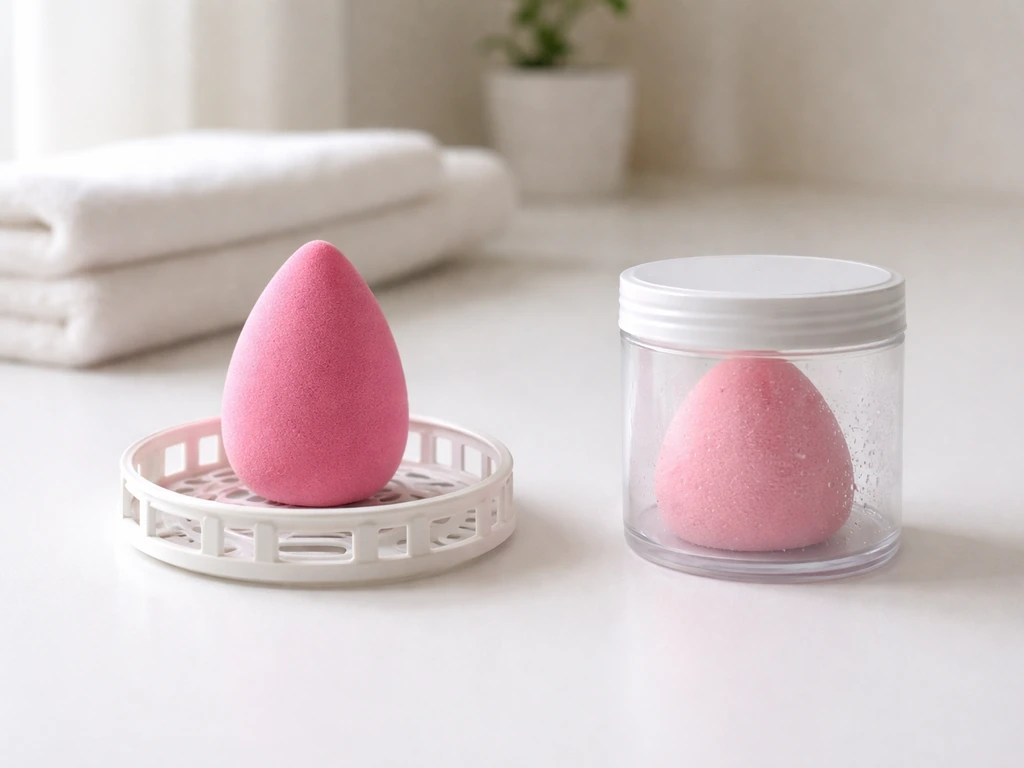
- Never store the sponge while damp. Always let it dry completely in open air before putting it away. This takes at minimum a few hours and often longer depending on your bathroom humidity.
- Store it in an open, breathable container rather than a sealed bag or closed makeup case. Air circulation allows residual moisture to escape instead of concentrating inside a closed space.
- Keep the sponge out of the bathroom when possible. Bedroom nightstand or a vanity in a less humid space means the ambient moisture level around the sponge drops significantly.
- Replace every three months if you are using it daily, sooner if you notice any of the discard signals above.
This is the same underlying principle that governs mold risk on other porous household items. Whether it is a damp book left closed on a windowsill or a makeup sponge sealed in a bag after use, the biology is identical: restrict moisture and remove nutrients, and mold loses its foothold. That same moisture-and-nutrients rule is why a damp book can also grow mold if you leave it closed for too long can books grow mold. You see this pattern come up with other everyday objects too, from crafting materials to personal care products left in humid spaces.
Is it safe to use again after cleaning?
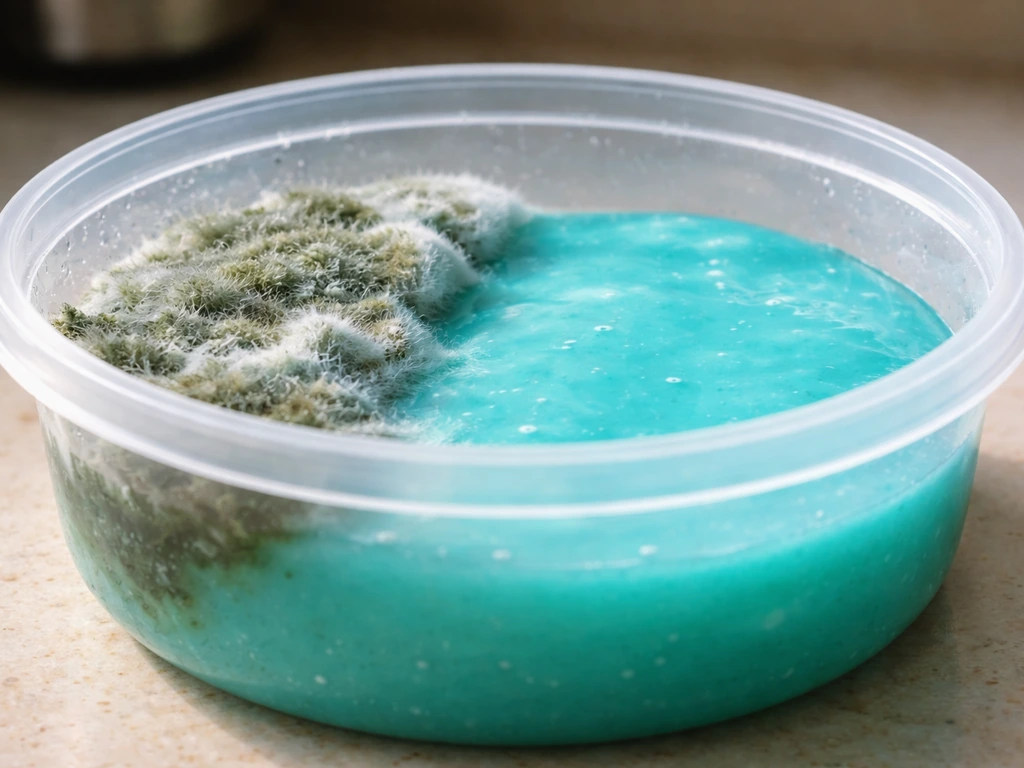
If you deep-cleaned the sponge, it dried completely, it has no odor, and you see no fuzzy growth, using it again carries low risk for most people. However, if you also wonder whether something like slime can grow mold, the same basic needs for moisture and nutrients apply to living microbial growth. However, there are real health considerations worth understanding before you put anything that may have had mold on it near your face.
Mold exposure can cause skin rash and irritation, and some people are more sensitive than others. The CDC specifically notes that people who are immunocompromised or have chronic lung conditions are at higher risk from mold exposure and should take additional precautions around moldy materials. If you fall into that category, the answer is straightforward: discard the sponge rather than attempt a salvage clean.
There is also a structural limitation to porous tools that is worth understanding from a microbiology standpoint. Unlike a hard, non-porous surface where you can physically remove all mold with a cleaning solution, a foam sponge has a complex interior architecture that traps organic material in places a surface rinse cannot fully reach. This is why the FDA highlights microbial safety as a genuine concern with cosmetic tools and products. Cleaning reduces contamination significantly, but if a sponge has been visibly moldy or smells moldy, the interior colonization is almost certainly more advanced than the surface appearance suggests. In that case, cleaning is not a reliable fix and replacement is the right call.
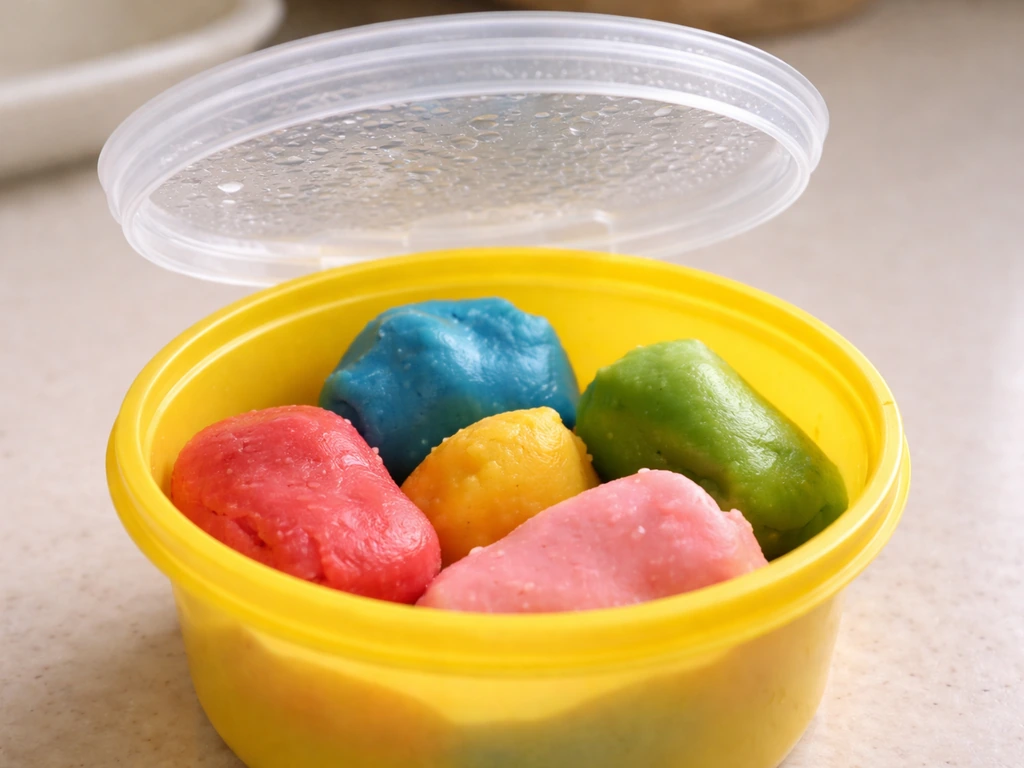
For a sponge that passed the post-clean check (odor-free, no visible growth, fully dry), go ahead and use it, then commit to the prevention habits above so you are not back in this situation in a few weeks. The science of mold growth is not mysterious: take away the moisture and the nutrients, and it cannot take hold. Can bath bombs grow mold for the same reason: they can trap moisture and organic material in a warm, humid environment. That is the whole principle, and your cleaning and storage routine is just applied microbiology. You also have to prevent the same issue from happening again, because a damp beauty blender can play-doh grow mold.
FAQ
How long should a beauty blender dry before I use it again?
Let it dry completely, not just “no longer feels wet.” Wringing it out and air-drying in a well-ventilated spot typically takes several hours, and it should have no lingering damp smell. If you store it while any moisture remains inside the foam, mold risk increases again.
Can I disinfect a beauty blender with bleach or hydrogen peroxide?
Avoid bleach on porous cosmetic sponges, and use hydrogen peroxide only if the brand cleaning guidance explicitly allows it for that material. Bleach can degrade foam and leave residues that can irritate skin. If you want extra assurance, focus on a gentle cleanser, then thorough drying, rather than harsh disinfectants.
What if the sponge smells “off” after cleaning, but I do not see fuzzy mold?
An unpleasant, musty, or sour odor after washing usually means microbial buildup is still present in the interior foam. If odor persists after a deep clean and full dry, discard it because the trapped contamination may not be removable by surface washing.
Is it safe to cut moldy parts off the beauty blender and keep the rest?
No. Mold can extend through the interior open-cell structure beyond the visible area, so cutting does not reliably remove the contamination. Replacement is the safer choice, especially if the discoloration was fuzzy, powdery, or raised.
Can makeup residue itself cause “stains” that look like mold?
Yes, pigment and product build-up can cause flat discoloration that resembles mold without the fuzzy texture. A key check is texture: true mold often looks raised or fur-like. Still, if you cannot confidently distinguish it, treat the sponge as contaminated and replace it.
Does the type of makeup I use affect mold growth risk?
Heavier, oilier formulas and products that include moisturizers or sunscreen can add more organic material and oils to the foam, which increases the nutrient load for microbes. Regardless of product type, the main triggers remain moisture and poor drying, so rinse well and dry fully after each use.
What is the safest storage method for a beauty blender between uses?
Store it dry and unsealed in a way that allows airflow. Keeping it in a closed makeup pouch, bathroom cabinet, or damp container after washing traps humidity. If you travel, use a breathable case and let it dry before packing.
How should I clean a beauty blender when I notice heavy use or product buildup?
Do a deep clean periodically by thoroughly working a gentle, cosmetic-safe cleanser into the foam, rinsing until water runs clear, then drying fully. If water keeps coming out tinted or the sponge keeps odors after drying, that suggests buildup beyond surface residue and is a good reason to replace.
Is it okay to use a beauty blender on sensitive skin or for acne-prone areas if it looks clean?
If you want to reduce risk, be stricter than “no visible mold.” For acne-prone or reactive skin, replace sooner if there are persistent stains, any musty odor, or visible texture changes. When in doubt, using a fresh sponge lowers exposure to hidden interior contamination.
Can I wash the beauty blender in the dishwasher or washing machine?
Dishwasher or washing-machine cleaning is usually not recommended for porous foam sponges. The agitation, heat, and detergents can degrade the structure and may leave residues. Stick to the manufacturer-approved cleaning method, then air-dry completely.